
Hello! After Daisy’s penny swallowing escapades it’s good to be back on top of things. It turns out that her sickness was probably a bug rather than anything caused by the penny as soon after hubby got sick and then over the weekend it was my turn.
I don’t have a tutorial ready to share today but I had prepared these photo’s to share before my
siesta from blogging.
I have used my Labels Card Thinlits die, the standard die creates a z-fold flip card but I wanted something a bit different so I cut my cardstock to the right width and then fed it through the die so that it only did a partial cut. The extra section is the panel on the right in the picture below.
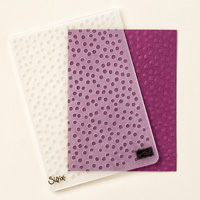
I’ve decorated the card using Happy Watercolour and the SAB decorative Dots embossing folder.

This is the inside of the card, you can see how extended the card gives you more room to write you message, you can also see the flip side of the label panel.

That’s all for today as I have a huge list of things to do! Come back soon for some more crafty goodness!
 |  |  |  |
 |  |  |  |
 |  |  |  |
Table built using Product Table Builder by The Crafty Owl - Independent Stampin' Up! Demonstrator.
No comments:
Post a Comment